

Tactiques Offensives

|
Offence is easier to execute than Defence for your first two turns of the drive as you
will set up after the kicking team and be able to spring your attack before the Defence can
muster itself. After two turns you should be in a position to score or grind down your
opponent; in either case you will be calling the plays as this article can do no more than
suggest an opening break and method of finishing the drive. OFFENCE WITH A STRENGTH TEAM
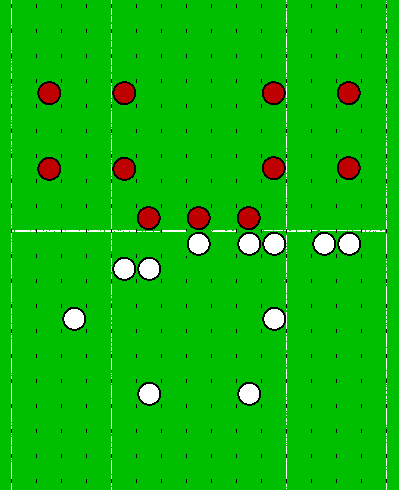
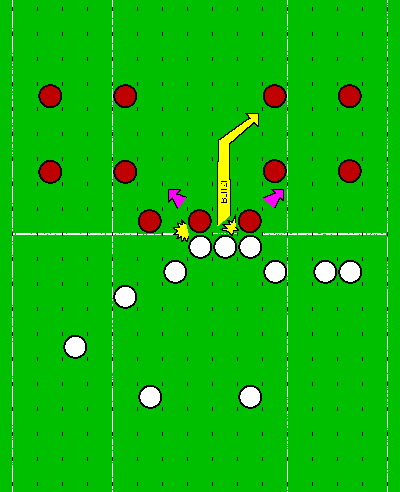
This is called a Weighted Offence; where you position your players to overwhelm one side of the Pitch, thus gaining a foothold which the Defence should have a hard time reversing. Setting up your Offence is dependent on your players individual strengths and weaknesses, but as this section deals with Strength teams I can safely assume that you have at least some muscle available to you. Place said muscle on the LoS in the centre of your players and in base contact with an opponent: he's there to hurt people after all!
Note: if you have to place anyone on their own on the LoS then they should be muscle TURN 1 OF THE DRIVE
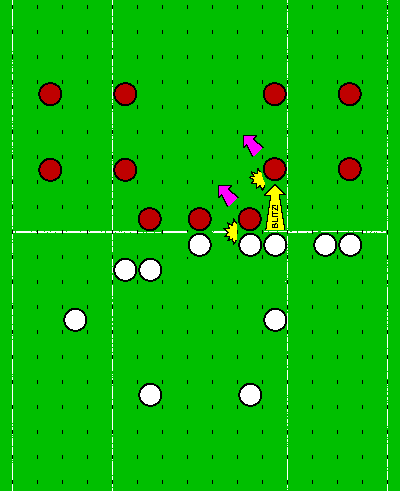
In Blood Bowl, the golden rule is that all 'safe' movement should be carried out first; so move your Turn Marker! If the ball is safe for one turn then you can leave it alone - what good is the ball if you have nowhere to go? To this end your first moves can be to Block and Blitz players away from the Widezone you will be using - try to use Two Dice You Choose blocks with players who have Block (remember those muscle players?). This is imperative with any Blitz moves you pull because if you have to roll a One Dice block without even Block to rely on then your plan can crumble at that point and your Offence will grind to an embarrassed halt. Don't despair; it happens to all of us.
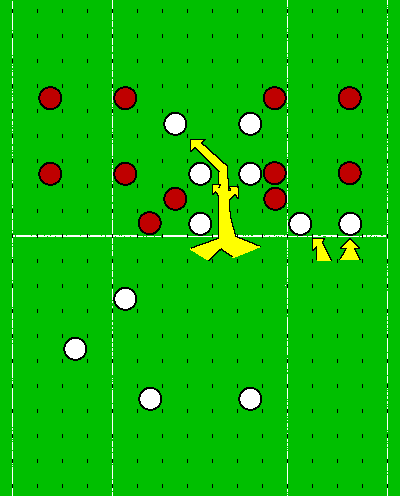
Consolidation of your beachhead into your opponents half is recommended at this point.
Use all of your Move actions which don't require Dodge rolls first. After these have been
made you should assess the situation thus:
FURTHER TURN PROGRESSIONThis is where the going gets tough. You should ideally be getting as much forward movement into your cage (which should now contain the ball carrier) as possible each turn. If this is because your opponent is getting out of your way then good; if he's letting you Block him out of the way then so much for the better (your Blockers like hitting things after all!). Frenzy is a skill of particular use as such players can gain you additional space for movement by pushing their opponents back (or even off the Pitch!). Beware that you do not travel too close to the Sideline however as your cage may find itself being forced into the Crowd! Your momentum should be maintained at all times and the Cage can break up into a smaller group if it has to because of this; you're not going to score if you don't move toward the Endzone. Be prepared to take the whole eight turns of the half if you have to (if you have them!) as this is not a fast team you have chosen, be patient, be brutal. OPTIONAL OFFENCE
If you feel that you have a better chance rolling up the centre than a Widezone then do so, but beware of traps: note where the key Defensive players are (Strip Ball, Tackle, etc.).
Your initial blocks should clear a Running Lane unimpeded by opposing TZ's.
Once such a Running Lane has been established, your players should take full advantage of it in forming their Beachhead. The same rule for moving the ball and Cage stand, but as Coach you should be wary that your team can get outflanked on either side now! OFFENCE WITH AN AGILITY TEAM
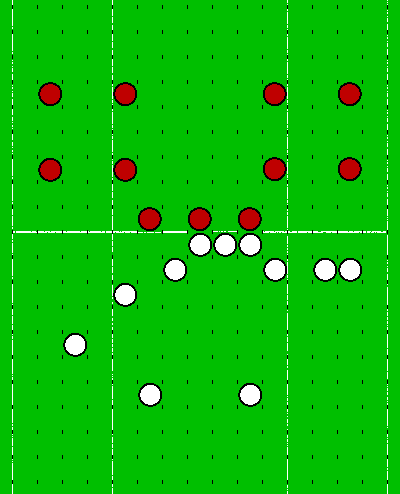
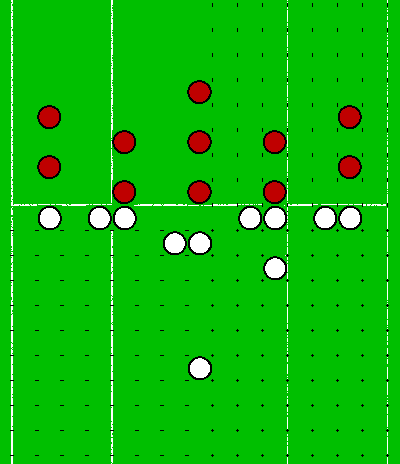
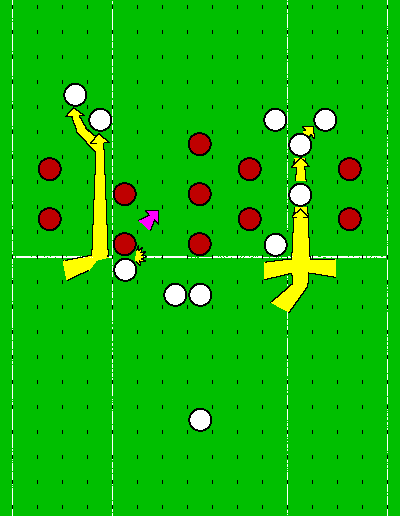
Offence with an Agility team is harder to pin down than with Strength teams as there are so many more possibilities. In general you will find that the standard weighting of your LoS works just as well as with Strength teams; in fact it is necessary as you need to remove as many TZ's from your path as possible to increase the odds of moving many players before a turnover occurs through a failed Dodge. TURN 1
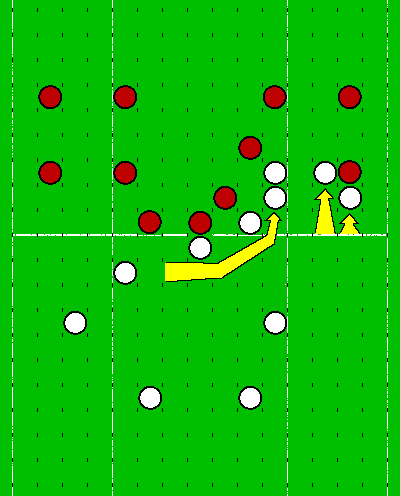
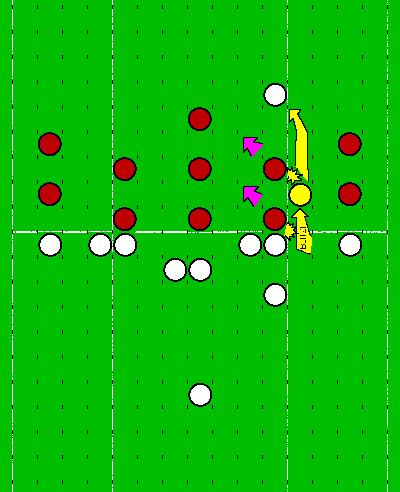
Ideally you would like to create a path which has no TZ's at all and which give your players a free run toward the Endzone. (As with the right flank in the diagram above.) This can be acieved by identifying any weak points in your opponent's Defensive line and exploiting them by judicious use of Blocks and your Blitz.
Once the hole has been made then you should force your eligible receivers through the gap, flooding one area of the half with four or so players. This should cause plenty of problems as four players can be mutually supportive and demand at least an equal number of opposing players to respond; the more that respond the better as it leaves other areas of the pitch free for your second flank. The second flank should consist of fewer players (otherwise your whole team will be in your opponents half!) and will act as a major pain in the neck for your opponent. They can either help out your first group by removing opposing TZs or can threaten to score themselves. This woks remarkably well in that your opponent will then have to split their efforts between the two groups or risk having you score a two turn TD. A further benefit of this is that the Defence may well split up the middle leaving a third coring path for your ball carrier and his bodyguard! FURTHER TURN PROGRESSIONIf you do not have any of your players in a position to receive the ball and score in Turn 2 then think fast! Agility teams rely upon scoring within four turns, otherwise they are in serious risk of being drawn into a battle of attrition which they may well lose. Be prepared to take risks when Passing, Catching, Dodging and running (including Go-For-It's) as these points set your team apart from the others. You will need to control the urge to play conservatively or risk losing scoring opportunities, be warned: the buzz you get when a multiple move play terminates in a perfect TD after using rerolls (both Team and Skill) and daring manoeuvres is well worth it! |

© VFL 1999-11-01T17:00 CEST


